 EN
EN Español
 Português do Brasil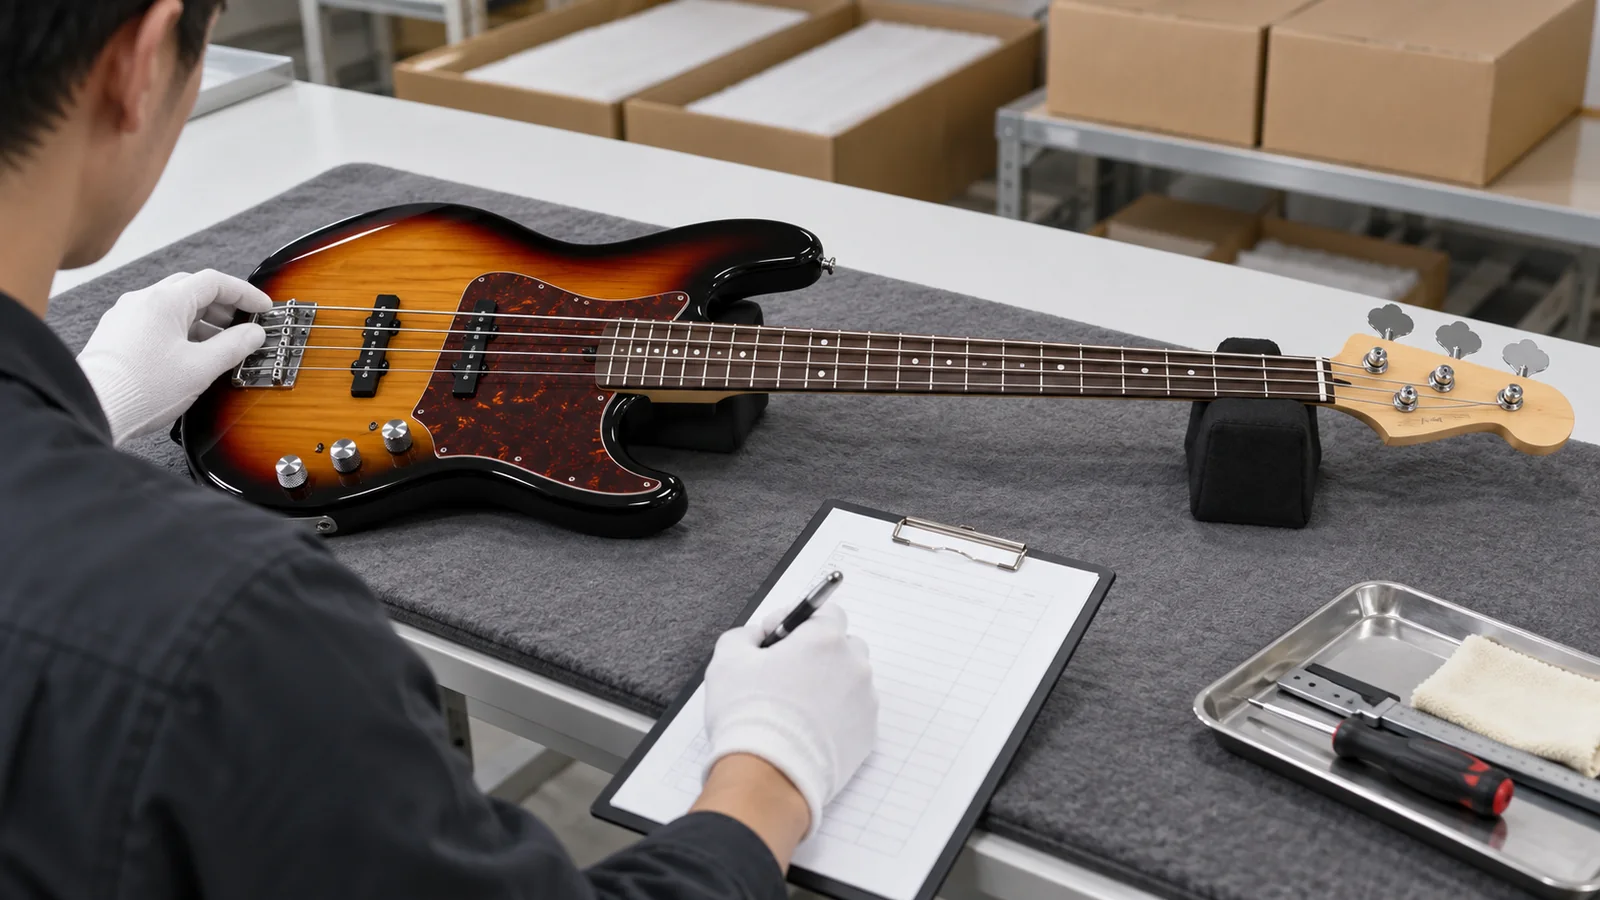
An electric bass shipment can look complete in carton photographs and still contain problems that reach dealers: mixed model revisions, incorrect strings, noisy controls, high action, loose hardware, damaged finishes or accessories packed against the instrument.
The short answer: begin with the approved model and sample revision, then inspect representative finished units across cartons. Confirm identity, dimensions, neck and setup, every fret, tuners and bridge, pickups and control logic, finish, branding, accessories and protective packing. Record the sample plan, actual measurements, issue types and release decision. Do not replace a physical inspection with a generic “QC passed” statement.
This guide is for importers, distributors, retailers and private-label brands buying finished four- or five-string electric basses. The exact limits must come from the approved project. The framework below helps buyers make those limits inspectable.
Start with the approved revision
Inspection begins before a carton is opened.
Collect the current purchase order, specification sheet, approved sample record, bill of materials or key-component list, artwork files, packaging specification and any approved change notices. Check that they use the same model code and revision.
If the order includes four- and five-string basses, passive and active versions, several finishes or left-handed models, create a clear matrix. Each variant should show quantity, identifier, string count, electronics, finish and packing. Similar-looking models are easy to mix when codes are weak.
Resolve open specifications before the inspection date. An inspector cannot make a fair release decision when the buyer and supplier still disagree about the intended bridge, control layout or string set.
The electric bass OEM specification guide explains the core fields that should already be approved. Pre-shipment inspection checks whether the finished order follows them.
Set the sample plan and defect language
Decide how many units and cartons will be inspected, how they will be selected and how defects will be classified.
The appropriate plan depends on order size, model mix, risk, buyer policy and previous performance. This article does not invent an AQL level or acceptance number for every project. The buyer should document the chosen standard and ensure the supplier understands it before the inspection.
Spread the sample across variants, production lots and carton locations where possible. Do not allow the inspection sample to consist only of preselected showcase units. Record serial or carton identifiers so that findings can be traced.
Define critical, major and minor issues in language relevant to the product. A non-functioning output, unsafe exposed electrical condition or wrong model may be treated differently from a small cosmetic mark. The final classification must match the buyer’s quality agreement, not a generic internet checklist.
When a repeated issue appears, expand the investigation according to the agreed process. Frequency often matters more than one isolated photograph.
Confirm model identity and quantity
Check the purchase order against packing records and physical cartons.
Verify model code, finish, handedness, string count, electronics version, carton mark and quantity. Open enough cartons to confirm that the outer label matches the instrument inside. If colour names are similar, use the approved visual reference and code.
For five-string models, count five strings and confirm the correct bridge and tuner layout. For active models, confirm the control and battery arrangement. Do not rely only on a rear label when the visible product configuration can be checked.
Compare headstock logo, sound or control-cavity labels, serial format and country-of-origin marking with approved artwork and legal requirements supplied by the buyer. Inspection confirms correct execution; it does not create legal text on the day of shipment.
Photograph representative cartons and instruments with their identifiers visible. Keep the evidence organized by model rather than mixing all images into one folder.
Measure the neck and setup
Playability is one of the main reasons to inspect the complete instrument.
Tune the bass to the approved condition with the intended string set. Let it settle as required, then measure neck relief, action and any other agreed points using the documented method. Record actual values instead of writing only “good setup.”
Check nut condition, string spacing, edge clearance, neck profile consistency and fingerboard surface. On five-string basses, pay close attention to the low string, but do not ignore the relationship across all strings.
Play every fret on every string. Listen for buzzes, dead notes, choking and abrupt changes in feel. Check fret ends by hand and inspect seating, polishing and edge treatment. A quick chord at the first position cannot replace a full-neck check.
Confirm intonation and bridge adjustment range. If the approved procedure allows adjustment during final setup, record what was changed and whether the unit remained within the shipment specification.
The fretboard and neck finishing guide gives a more detailed framework for these checks.
Check four- and five-string variants separately
A five-string bass is not only a four-string model with an extra tuner.
Inspect nut width and spacing, bridge spacing, fingerboard edge clearance, pickup coverage, neck stiffness, balance and low-string response according to the five-string specification. The approved sample should show how these fields work together.
For mixed orders, compare a representative four-string and five-string side by side. Confirm that shared components are genuinely the same and that variant-specific parts have not been exchanged.
Check headstock balance in seated and standing positions where the inspection plan includes play testing. A wider neck and additional tuner can change the way the instrument hangs even when total weight remains acceptable.
Do not use one action or relief target automatically across all variants unless the project specification says so. The buyer may approve different setup ranges for different formats.
Test every electronics function
Plug the bass into a known working amplifier or approved test system.
Check output, each pickup selection or blend function, volume and tone controls, switches, jack retention and unwanted noise. Turn every potentiometer through its working range. Listen for interruptions, scratching, loose knobs and control functions that do not match the specification.
For active models, verify battery access, polarity, secure connection and control behavior. Record whether a battery is included and how it is isolated or packed for shipment. Do not leave this to assumption.
Compare the actual control layout with the approved switching or function table. A bass can produce sound while two controls are reversed or a switch operates the wrong function.
Inspect the cavity or accessible wiring on the agreed sample basis. Look for secure connections, protected routing, correct covers and screws. Do not open every instrument unless the inspection plan requires it, but use the agreed sample to verify workmanship beyond the amplifier test.
The electric guitar and bass electronics QC guide can be used to build the functional sequence.
Inspect tuners, bridge and hardware
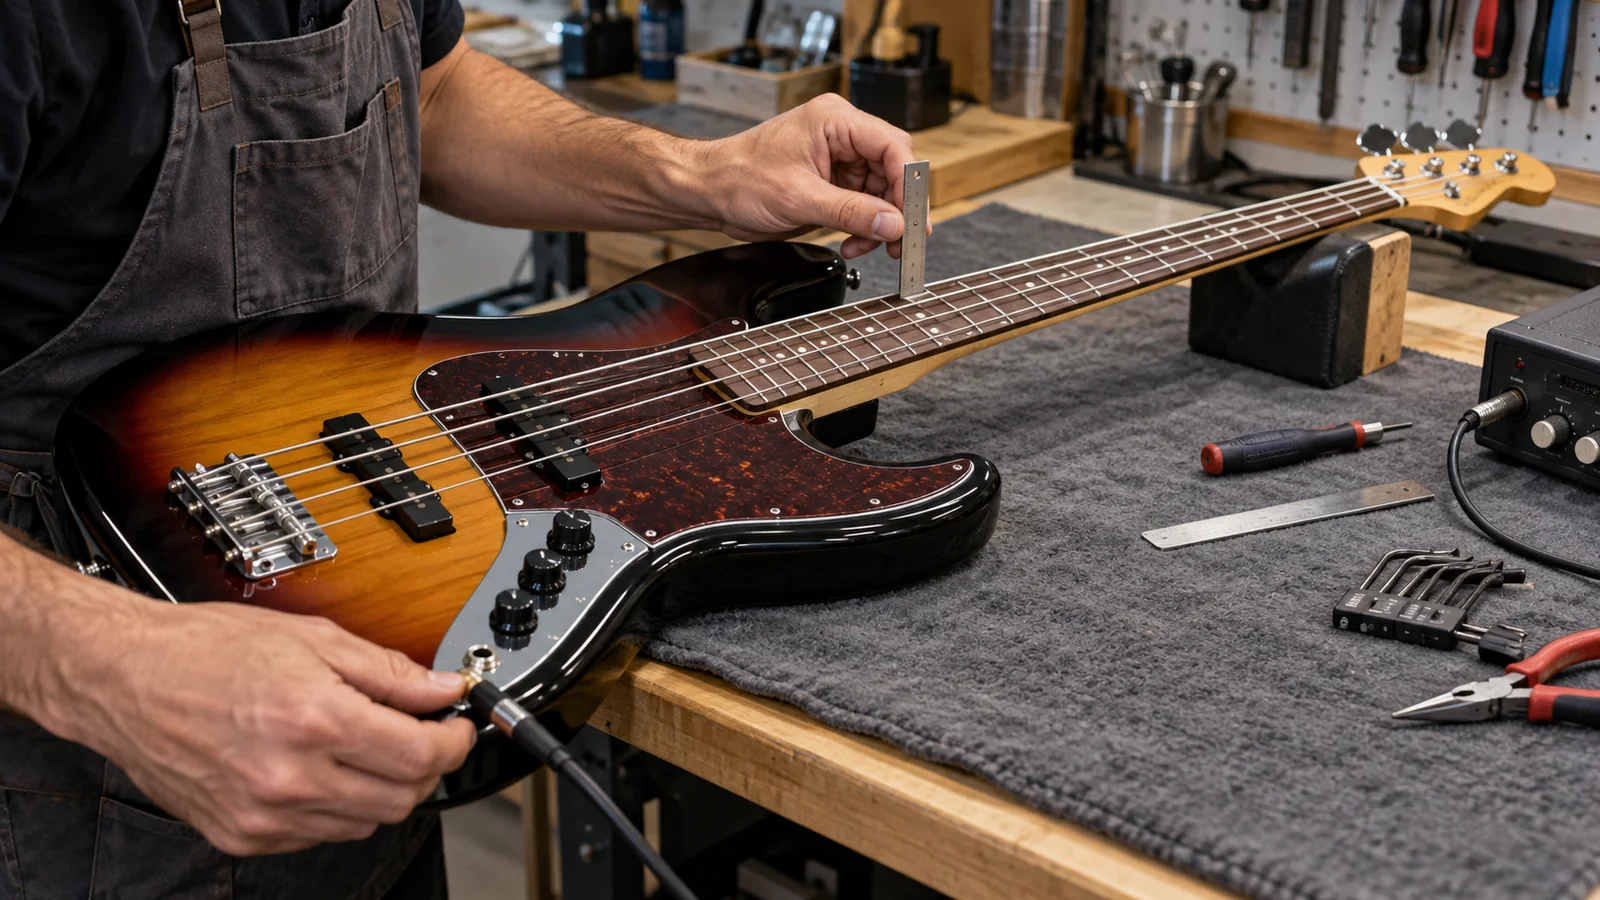
Operate every tuner on the inspected unit. Check smooth movement, secure mounting, buttons, bushings and correct orientation. Confirm that the strings are wound or locked using the approved method.
At the bridge, inspect mounting, saddle position, adjustment screws, string loading and finish. Confirm that saddles have usable travel after intonation and that the approved spacing is present.
Check strap buttons, neck fasteners or joint details, control knobs, jack plate, pickup mounting and covers. Loose hardware should be recorded by location and frequency, not simply tightened and forgotten.
Review hardware finish as a set. Black, chrome or gold parts from different sources can vary visibly. Compare the assembled instrument with the approved sample under consistent light.
If protective film is used, make sure it has not hidden scratches, loose screws or poor fit. The inspection should see the finished surface that the dealer will receive.
Review finish, body and assembly
Inspect the body front, back, sides, edges, neck joint, headstock and control areas.
Use diffuse light for general appearance and angled light for surface defects. Look for colour mismatch, dust, sink marks, polishing lines, chips, glue residue and damage around routes or hardware.
Natural wood or transparent finishes require an approved variation range. Do not reject normal grain variation merely because it differs from one hero sample. At the same time, repeated visual defects should not be dismissed as natural material.
Check body and neck alignment from several viewpoints. Confirm that strings sit correctly over the fingerboard and pickup area. Inspect pickguards, cavity covers and plates for fit, gaps and correct fasteners.
Branding needs its own check: logo position, colour, size, label, serial and any model mark. A correct instrument with the wrong logo or carton code is still a shipment problem.
Use a repeatable playing check
A short playing sequence makes the inspection more consistent.
Begin with open strings, then play every fret. Include notes and patterns that reveal the low-string response on five-string models. Check sustain and obvious dead spots without turning a subjective impression into an unsupported performance claim.
Play with both light and normal attack. Confirm that the action and fretwork suit the approved target. Then retune and repeat part of the sequence if tuning operation is included in the quality plan.
Test the controls while notes are sounding. A control can pass a static turn but cut out under normal movement. Check the output jack with the cable in a realistic playing position.
Record the room condition, amplifier or test device and any adjustment made. The purpose is not a product review. It is to make repeated findings comparable.
Preparing an electric-bass shipment? Send your requirements with model codes, four- or five-string formats, scale, spacing, electronics, finish, packaging, quantity and inspection requirements. Vinesmusical can review whether the shipment checklist matches the approved sample.
Check accessories and package contents
Open the package as a dealer or customer would.
Confirm the approved bag or protective wrapping, tools, cable, strap, documentation, spare parts and any other included items. Check quantities and model compatibility. An adjustment tool that does not fit the bridge or truss rod is not a useful accessory.
Make sure loose parts cannot move against the finish. Separate metal tools, tremolo parts where relevant, batteries and cable plugs from the instrument surface. Check that small bags are sealed and positioned consistently.
Review moisture-control material only against the approved packing specification. More is not automatically better, and the package should not make unsupported humidity claims.
Verify retail labels, barcode placement and carton marks supplied by the buyer. Scan representative barcodes if that is part of the warehouse requirement.
Inspect protective packing and cartons
The bass should be supported at the body, neck and headstock without concentrated pressure.
Check the inner bag, foam or paper protection, neck support, headstock clearance, accessory position and carton fit. Shake or move the closed package only according to the agreed method, then reopen it to see whether the instrument or accessories shifted.
Look for hardware pressing into the bag or carton, tuner contact at the headstock and movement around the lower body. Long bass cartons can flex, so the approved packaging should be evaluated as a complete system.
Confirm carton construction, closures, print, model code, quantity and any handling marks. Weigh and measure representative cartons if logistics documents require those values.
If the buyer changed the gig bag, accessories or carton after sample approval, treat the new pack as a revision. Do not assume it performs like the earlier version.
The OEM guitar packaging approval guide provides a broader package-review process that can be applied to bass shipments.

Record findings in a release report
The report should allow someone who was not present to understand what was inspected.
Include order and model references, inspection date and location, documents used, sampling method, units and cartons selected, measurements, functional results, defects, photographs, corrective action and final release status.
Separate corrected-on-site issues from unresolved findings. Tightening one loose screw does not prove the rest of the batch is unaffected. Record the issue and decide whether additional sampling or rework is required.
Use one defect name consistently. “No output,” “intermittent jack” and “reversed control function” are more useful than placing every electrical finding under “electronics problem.” The same applies to neck, finish and packing issues.
The buyer should state who has authority to release the shipment. An inspector can report facts, but the commercial decision may belong to the buyer according to the agreed process. The broader pre-shipment guitar inspection guide can be used to align this bass-specific report with other guitar categories in a mixed order.
Common inspection mistakes
Inspecting only the easiest cartons
Spread the sample across the shipment and record identifiers.
Checking appearance but not plugging in the bass
Every electronics function needs an operational test on the selected units.
Playing only the first few frets
Check every fret on every string, including the low string on five-string models.
Correcting issues without recording them
Record what was found, what was corrected and whether the sample was expanded.
Treating four- and five-string models as one inspection group
Each variant needs checks matched to its neck, spacing, bridge, pickups and balance.
Frequently asked questions
Should every bass be plugged into an amplifier?
The inspection scope should be agreed before production. The selected inspection units need full functional checks; the supplier may also use broader production testing according to its quality plan.
What measurements matter most?
Use the approved specification. Common checks include scale relationship, neck relief, action, string spacing, pickup height and intonation condition, but measurement points and limits must be defined for the model.
How should five-string basses be inspected differently?
Add checks for low-string response, neck and fingerboard width, nut and bridge spacing, pickup coverage, tuner layout and balance. Do not copy the four-string checklist unchanged.
Is carton inspection enough to approve shipment?
No. Cartons confirm identity and packing, but representative instruments also need dimensional, playability, hardware, electronics and cosmetic checks.
What happens when an issue is found?
Record the issue, frequency and affected models. Follow the agreed process for expanded sampling, rework, reinspection and buyer release.
Conclusion
An electric bass pre-shipment inspection connects the purchase specification to the cartons that will reach the buyer.
Start with the approved revision, select a representative sample and verify identity, setup, every fret, hardware, electronics, finish, accessories and protective packing. Record actual results and repeated issue types. A traceable report gives both buyer and supplier a clearer basis for shipment release than photographs and a generic pass statement.
Vinesmusical was established in 2014 and manufactures classical, acoustic and electric guitars plus electric basses for B2B OEM/ODM projects. The company has about 80 employees, approximately 7,000-guitar monthly capacity, 13 years of OEM/ODM experience, a company-owned 10,000-square-metre five-floor factory, third-party BSCI certification and a third-party factory-audit report available for buyer review.
Contact Vinesmusical with the model matrix, specifications, quantity, packing and inspection requirements for your electric-bass project.