 EN
EN Español
 Português do Brasil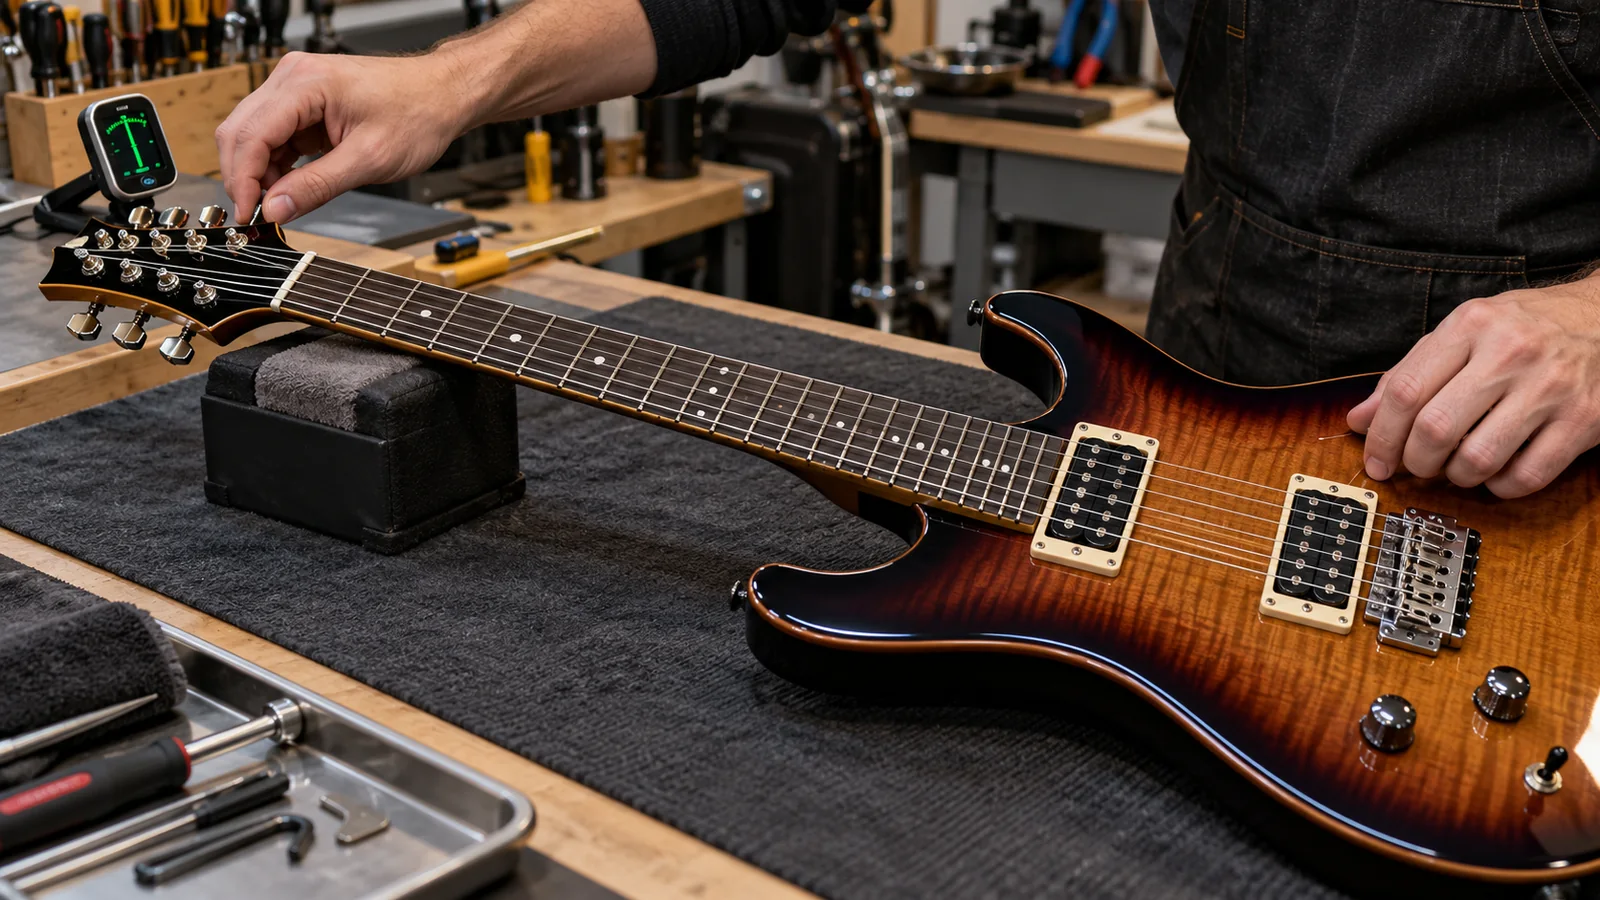
Tuning stability is often treated as a component claim: better tuners, a locking nut or a more expensive bridge. In production, it is a system result. The strings pass through several contact points, and a problem at any one of them can make a finished guitar return poorly to pitch.
The short answer: wholesale buyers should specify the complete string path, intended tuning and string set, then test the finished sample using a written method. Check tuner installation, headstock geometry, nut slots, string retainers, bridge, tremolo setup, stringing practice, neck relief, action and intonation together. Record the starting condition and the result rather than accepting “stable tuning” as an unmeasured promise.
This guide is for brands, importers, distributors and private-label buyers sourcing finished electric guitars. It does not set one tolerance for every design. It shows how to make the requirement clear enough for sample approval and shipment inspection.
Define the playing condition before the hardware
Start with the actual use case.
A fixed-bridge six-string in standard tuning, a tremolo-equipped model and a lower-tuned seven-string do not need the same setup or test. The buyer should state the string count, intended tuning, string set or gauge direction, bridge system and normal playing use before evaluating stability.
Avoid broad instructions such as “must stay perfectly in tune.” Every stringed instrument responds to temperature, new strings, playing force and setup. A useful requirement describes how the guitar is prepared, how it is played or operated and what is checked afterward.
Record whether the sample is tested after ordinary chords and bends, after repeated tremolo use, after a string change or after transport. These are different conditions. The test should match the product promise and the likely customer.
If several versions share one body, identify which hardware and tuning belong to each model. A factory cannot apply one setup record accurately when the product family mixes fixed bridges, vintage tremolos and double-locking systems under one name. The existing 7-string buying guide and 24-fret buying guide show why string format and neck geometry must remain tied to the approved setup.
Review the string path as one system
Follow each string from the bridge to the tuner.
At the bridge, check saddle condition, break angle, travel and any moving contact point. At the nut, check slot width, depth, finish and alignment. Continue through string trees or retainers, then look at the direction from the nut to each tuner post. Finally, inspect tuner fit, post height, mounting and string winding.
A single sharp edge, binding nut slot, loose tuner or poorly seated string can affect the result. Replacing one component may hide the symptom without correcting the relationship between parts.
Ask the supplier to show the intended string path on the sample or drawing, especially when the headstock, tuner layout or bridge differs from a familiar platform. A photograph can reveal obvious angles, but the finished guitar must still be tuned and operated.
The buyer should also check service access. Tuners, saddles, locking screws and adjustment points need practical tool clearance. A design that works only with unusual workshop handling may create avoidable dealer support problems.
Specify tuner type and installation details
Tuner names describe a category, not the complete installation.
Record the approved tuner model or mechanical specification, mounting-hole pattern, post size, orientation, finish and any bushing or washer. If locking tuners are requested, confirm the locking mechanism and correct stringing method. Do not assume the word “locking” guarantees a result when installation or nut work is inconsistent.
During sample inspection, turn every tuner. Check for smooth operation, excessive play, uneven resistance and secure mounting. Confirm that buttons clear one another and that the posts align with the intended string path.
Look at the string wraps. Too many loose wraps, overlapping coils or poor locking practice can introduce movement. The correct method depends on the tuner, but the production record should show how the approved sample was strung.
Tuner finish and branding should be controlled separately from function. A cosmetic substitution may also change post height, gear feel or mounting. Any replacement needs review on the finished instrument.
Give the nut enough attention
Many tuning complaints begin at the nut, even when the customer blames the tuners.
Each slot must suit the intended string and follow a clean path. A slot that is too tight can hold the string and release it suddenly. A slot that is too low can buzz. A poorly finished exit angle can create friction or an audible movement while tuning.
Specify the nut material, width and visible finish, but do not stop there. On the sample, tune slowly and listen or feel for jumps. Bend the string, operate the bridge if applicable and retune. Check whether the string returns consistently or catches.
The factory inspection method should cover all slots, not just a visual check of the nut surface. If the production string gauge changes, the nut setup must be reviewed again. An approved slot for one string is not automatically correct for a heavier set.
Nut lubrication may be part of a setup process, but it should not be used to hide rough or incorrectly sized slots. Record any approved treatment so that sample and production preparation remain comparable.

Treat string retainers and headstock geometry carefully
String trees and retainers can create necessary break angle, but they also add contact points.
Confirm their position, height, material, finish and mounting. Check that the string does not rub an unintended edge and that the retainer remains secure after repeated tuning. If spacers are used, include them in the component record.
On angled or straight headstocks, review how each string leaves the nut. Excessive sideways movement can add friction. Too little downward pressure can affect seating. The solution depends on the design, so evaluate the actual string path rather than copying a generic component layout.
If the buyer changes tuner post height or headstock thickness, inspect the string angle again. A small hardware substitution can alter a relationship that was previously approved.
The fretboard and neck finishing guide provides related checks for nut, neck and fret preparation. Tuning stability should be added to that review, not treated as an isolated final test.
Separate fixed-bridge and tremolo requirements
A fixed bridge still needs correct saddle setup, secure mounting and enough adjustment range, but a tremolo adds moving parts and spring balance.
For a fixed bridge, record mounting, string-loading method, saddle type, radius relationship and intonation range. Check that hardware is secure and that strings do not catch on rough surfaces.
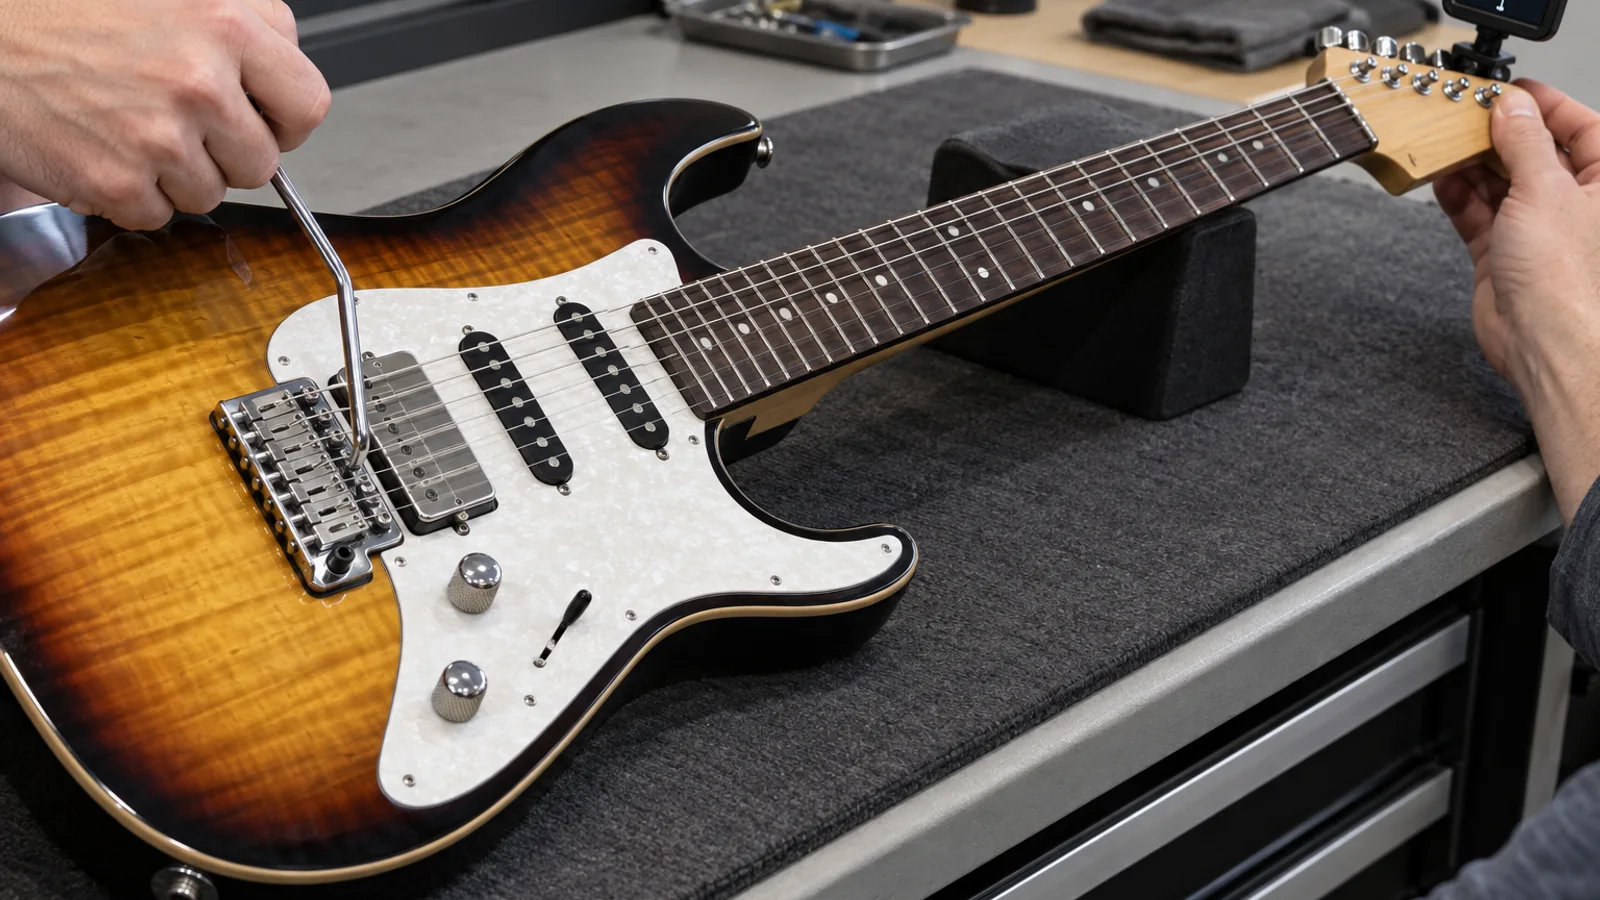
For a tremolo system, define the approved setup condition. Is the bridge decked, floating or limited to downward travel? Record spring quantity and arrangement, bridge angle where relevant, tremolo-arm fit, locking points and the intended string set.
Operate the bridge in the way the target player is expected to use it. A gentle vibrato test and a deep pitch change are not equivalent. Use a repeatable sequence and check pitch afterward with the same tuner and method.
Double-locking systems need their own procedure. Confirm nut clamps, bridge locking, fine-tuner range and the order of setup steps. A buyer should not judge the system until strings are stretched, locks are correctly engaged and fine tuners have usable travel.
Control the strings and settling process
New strings move. A sample tested immediately after installation can appear unstable even when the hardware and setup are correct.
State the string brand or specification used for approval, or at least the gauge and construction. Record the installation date where practical. Stretch and settle the strings using one consistent factory method before the final test.
Check that ball ends or knots are seated correctly and that wraps are secure. On tremolo models, allow the bridge and spring system to reach the approved balance after string changes.
When the buyer receives a shipped sample, note that climate and transport can change setup. Let the instrument acclimate before making a final judgment. If an issue appears, record the condition on arrival, the string age and any adjustment made before retesting.
Do not compare two guitars using different string conditions and then attribute the entire difference to hardware. Control the simple variables first.
Write a practical sample test
A useful test is short enough to repeat and detailed enough to compare.
One possible structure is:
- Confirm the model, hardware revision, string set and intended tuning.
- Let the instrument settle and tune accurately.
- Record neck relief, action and intonation condition.
- Play a fixed chord and single-note sequence.
- Perform a defined number of bends on selected strings.
- Operate the tremolo using the approved movement, if fitted.
- Recheck each string with the same electronic tuner.
- Note any binding, movement, hardware looseness or audible jump.
- Retune, repeat and compare the pattern.
The buyer and supplier should agree how results are recorded. Exact cent values can be useful only when the tuner, timing, string condition and method are controlled. Otherwise, a clear pass/fail rule and notes on repeated drift may be more honest.
Keep the test matched to the product. A fixed-bridge beginner model does not need an extreme tremolo test, and a tremolo-focused model should not be approved after only open chords.
Developing an electric-guitar range? Send your requirements with the string count, tuning, strings, bridge, tuners, nut, pickups, finish, branding, packaging and estimated quantity. Vinesmusical can identify open specification points before sampling.
Check setup before blaming tuning hardware
Relief, action, fret condition and intonation affect how a player perceives tuning.
If the action is high, fretting pressure can pull notes sharp. If the nut slots are high, first-position chords may sound incorrect even when the open strings are in tune. Poor intonation can make the instrument appear unstable as the player moves along the neck.
Measure setup using agreed points and conditions. Tune before measuring, then check the instrument across the fingerboard. Confirm that the bridge has enough travel to achieve the intended intonation with the approved strings.
Pickup height can also affect the playing system, especially when magnetic pull is unusually close to the strings. Check the approved pickup-height range and make changes systematically rather than adjusting several variables at once.
The OEM guitar specification-sheet guide helps buyers keep setup, hardware and electronics on one controlled revision.
Turn the sample result into production checkpoints
Once the sample passes, translate the test into checks that the factory can repeat.
Incoming inspection should confirm the approved tuners, bridge, nut and related hardware. Assembly checks should cover secure mounting, string path and component orientation. Setup checks should cover strings, relief, action, intonation and tremolo condition. Final inspection should include actual tuning and operation, not only appearance.
Use photographs for installation details and a short written sequence for the functional test. Identify the tools used and the person or station responsible. If the product family includes several bridge systems, keep separate checklists or clear model-specific branches.
Production data does not need to be theatrical. A simple batch record showing model, revision, sample size, issue type and corrective action is more useful than a generic “100% QC” badge with no method behind it.
When a component supplier changes, repeat the relevant fit and function checks. Do not wait for customer feedback to discover that a tuner post, nut blank or bridge part changed the approved system.
Include tuning in pre-shipment inspection
Pre-shipment inspection should sample complete cartons or finished units according to the agreed plan.
Confirm model and revision first. Then check visible hardware, mounting, strings, setup and packing. Tune the guitar, play the agreed sequence and operate the bridge where applicable. Record repeated problems by type: nut binding, tuner looseness, bridge movement, incorrect stringing, unstable tremolo balance or setup drift.
The inspection should also confirm that accessories and tools match the product. A locking system without the correct adjustment tool can create an immediate dealer complaint even when the guitar itself is correctly set.
After the functional check, make sure the guitar is returned to the approved tuning or shipping condition and protected in the package. Loose tremolo arms, tools or accessories should not move against the instrument.
The pre-shipment guitar inspection guide can be extended with the model-specific tuning sequence.
Compare supplier claims with evidence
When a quotation or product page says “excellent tuning stability,” ask what supports the statement.
Useful evidence may include the exact hardware and string specification, sample setup record, the written test method, inspection data and photographs of the approved installation. The goal is not to demand a laboratory report for a normal product. It is to make the claim traceable to the design being purchased.
Avoid relying on a tuner brand name alone. A respected component can still perform poorly if the nut, string path, mounting or setup is wrong. Conversely, a practical component can work well in a correctly designed and prepared system.
If two suppliers propose different solutions, compare the complete scope and sample result. One may use locking tuners with a traditional nut; another may use a different bridge and stringing method. The buyer needs a repeatable outcome, not the longest hardware list.
Frequently asked questions
Do locking tuners solve tuning problems?
They can simplify string installation and reduce movement at the post, but they do not correct a binding nut, poor bridge setup, unstable tremolo balance or incorrect stringing.
How should a buyer test a tremolo guitar?
Define the bridge setup and intended use, settle the strings, tune accurately, perform a repeatable movement sequence and check every string afterward. Record the conditions and repeat the test.
Can a fixed-bridge guitar still have tuning complaints?
Yes. Nut slots, tuners, strings, saddles, setup and intonation can all affect the result.
Should tuning stability be checked before shipment?
Yes. Inspectors should test representative finished instruments using the approved strings, tuning and procedure, then record recurring issue types.
Is one perfect sample enough?
No. The sample defines the reference, but production checks are needed to confirm that installation and setup remain consistent across the order.
Conclusion
Tuning stability is a chain of decisions, not a label on one component.
Define the playing condition, strings and bridge system first. Review the entire string path, approve a repeatable sample test and convert the result into production and shipment checks. This gives the supplier a practical method and gives the buyer evidence that can support the final product description.
Vinesmusical was established in 2014 and manufactures classical, acoustic and electric guitars plus electric basses for B2B OEM/ODM projects. The company has about 80 employees, approximately 7,000-guitar monthly capacity, 13 years of OEM/ODM experience, a company-owned 10,000-square-metre five-floor factory, third-party BSCI certification and a third-party factory-audit report available for buyer review.
Contact Vinesmusical with the intended tuning, strings, bridge, tuners, nut, setup, electronics, finish, branding, packaging and estimated quantity. Open points can be reviewed before the sample is built.