 EN
EN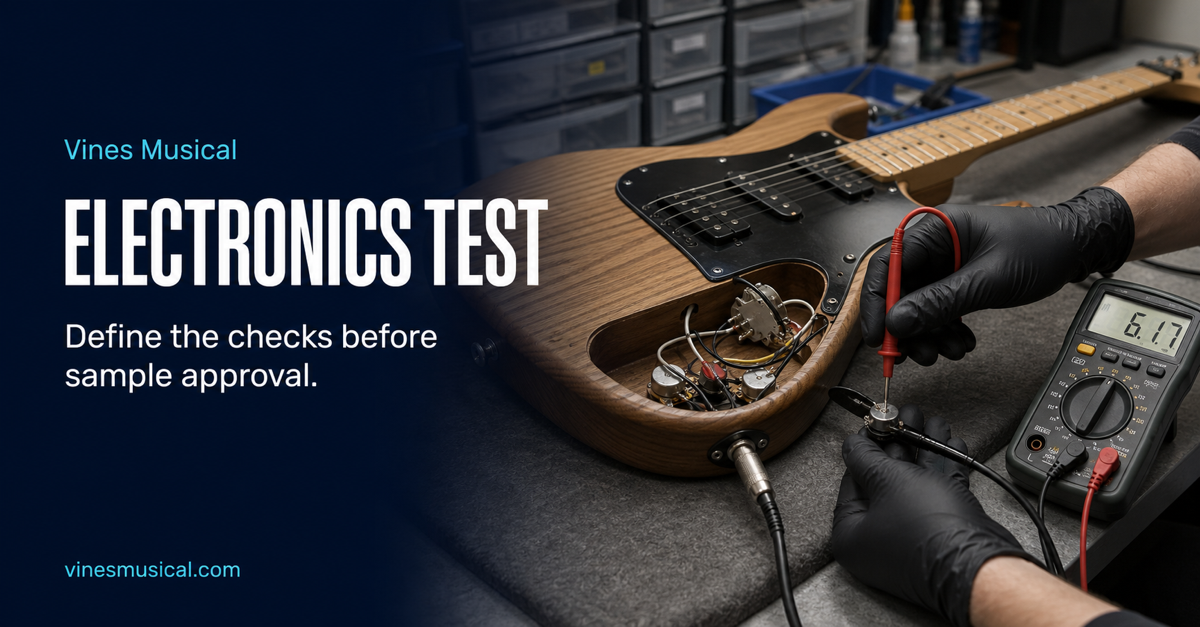
A pickup model, potentiometer value and wiring diagram can all be correct on paper, yet a finished instrument may still arrive with a scratchy control, a loose jack or a switch position that does not match the approved sample. These are rarely dramatic factory problems. They are small assembly and handling issues that become expensive once a batch reaches the buyer.
For an OEM electric guitar or electric bass project, electronics quality control should therefore be agreed before production starts. The aim is not to add a complicated laboratory test to every order. It is to make sure the factory and buyer are checking the same circuit, in the same order, against the same approved result.
Start with the approved circuit, not a general specification
The clearest reference is the approved sample together with its wiring diagram and bill of materials. The document should identify the pickup set, control values, capacitor value, switch type, jack, active or passive circuit and any special functions such as coil splitting, series/parallel switching or an active/passive bypass.
Control direction also needs to be written down. A three-way toggle may look obvious, but “neck,” “middle” and “bridge” should still be defined. On a bass, an active preamp layout can easily be misunderstood if the drawing does not show which knob controls volume, blend, bass, middle or treble. Small labels on the approved layout remove a surprising amount of uncertainty.
If a part is changed after sampling, record the revision and the reason. A substitute jack or potentiometer may fit the same cavity but behave differently after repeated use. The production team should not have to decide whether an old drawing or a new message is the final instruction.
Inspect components before they disappear inside the instrument
Some electronics problems are easier to catch before installation. Pickup lead length, connector orientation, switch terminals and potentiometer shafts can be checked while the parts are still visible. For instruments with active electronics, the battery clip and compartment should also be inspected before the cavity is closed.
This stage is also useful for separating cosmetic variation from a functional issue. A minor mark on a hidden component may not matter. A bent terminal, cracked connector or loose shaft does. The inspection standard should focus on the points that can affect assembly, reliability or serviceability.
Check the soldering and the cavity as a mechanical system
Electronics QC is not only an electrical test. The wiring has to survive installation, setup, packing and transport. Solder joints should be secure without stray strands or excessive wire movement. Leads should have enough clearance from screws, springs and moving switch parts. The output jack should be tight, but the wires behind it should not be twisted into tension.
Shielding and grounding should follow the approved construction. The important point is consistency: the cavity, bridge ground, control plate or pickguard and output connection should form the same system as the sample. A continuity check can confirm the basic path, but it does not replace a listening test.
Cavity covers and pickguards should close without pressing directly on components. This is particularly relevant to compact control cavities and active bass circuits, where a tidy-looking harness can still be compressed when the cover is fitted.
Test every control in its real operating direction
Once the circuit is installed, the instrument should be tested as a finished unit. Rotate each potentiometer slowly through its full travel. Operate every switch and push-pull function. Insert and remove a cable from the output jack. The operator should confirm both the function and the physical feel.
A meter is useful for continuity and resistance checks, but the instrument should also be connected to an amplifier or a suitable audio test setup. This catches intermittent noise, weak output, unexpected volume changes and switch contacts that a quick visual check will miss.
The test sequence should match the actual control layout. For a standard two-pickup electric guitar, that may mean checking each pickup position, volume and tone response, and then any additional switching. For a five-string active bass, it may include pickup blend, equalisation controls, active/passive mode and output stability with the battery installed.
Electric guitar and electric bass batches need slightly different attention
The basic principles are the same, but the risk points are not always identical. Electric guitars often have more switching combinations, tremolo cavities or pickguard-mounted harnesses. Electric basses may use active preamps, stacked controls, battery compartments and tighter rear cavities.
For an active bass, the buyer should define what happens when the battery is removed and whether the instrument has a passive bypass. Battery access and clip retention matter because the instrument may be opened repeatedly by a dealer or end user. For a passive guitar, switch logic, grounding and jack stability may be the more visible concerns.
This is why one generic line saying “electronics tested” is not enough for a mixed order. The checklist should name the functions that apply to each model.
Use the approved sample to judge output and noise
Absolute readings can be helpful, but they should not be treated as the whole acceptance standard. Pickup output changes with pickup height, string type, setup and playing force. A practical comparison uses the approved sample, the same test setup and a repeatable procedure.
Unexpected hum or crackle should be investigated in context. Some noise can come from the test environment, cable or amplifier. Repeating the check with known-good equipment helps avoid rejecting an instrument for the wrong reason. At the same time, a problem that only appears when a knob is touched or a cable moves should not be dismissed simply because the instrument produced sound once.
Sample across the batch, not only from the first cartons
Production consistency is easier to judge when samples are taken from different points in the run and from different cartons. The first completed instrument may receive more attention than later units, while a repeated assembly issue can appear after a component refill or workstation change.
The sampling plan should be agreed according to order size, model complexity and the buyer’s risk level. A new active circuit or a new supplier part deserves closer attention than a repeat order using an unchanged, stable specification. Any failure should trigger a clear containment and recheck plan rather than an informal repair of the one instrument that happened to be tested.
This approach also supports wider batch consistency control. Electronics results can be reviewed alongside setup, finish, packaging and carton identification instead of being treated as an isolated final step.
What should appear in the buyer’s inspection brief?
- Approved wiring diagram and bill-of-material revision.
- Control names, direction and switch logic for each model.
- Active/passive behaviour and battery requirements where applicable.
- Functions to be checked through an amplifier or audio test setup.
- Grounding, shielding and cavity-clearance points.
- Sampling plan and response when a failure is found.
- Photos or records required before shipment approval.
The brief does not need to be long. It needs to be specific enough that a production inspector, a third-party inspector and the buyer can reach the same conclusion.
Build the test around the product, not a template
A reliable electronics check begins during sampling, when the factory and buyer can agree on the circuit and the way it will be tested. It then becomes part of production QC and the final release process. That is much more useful than discovering after shipment that “tested” meant only that the instrument produced a signal.
Buyers reviewing model options can start with our electric guitar range and electric bass range. For a new OEM/ODM project, send the target model, circuit or control layout, quantity and test requirements through the project inquiry form. We can use those details to prepare the sampling discussion and quotation.